Basement Air Admittance Valve Installation: Step-by-Step Guide
Get the complete basement air admittance valve installation guide for basement drains and laundry sinks. DIY step-by-step instructions, code compliance, and...
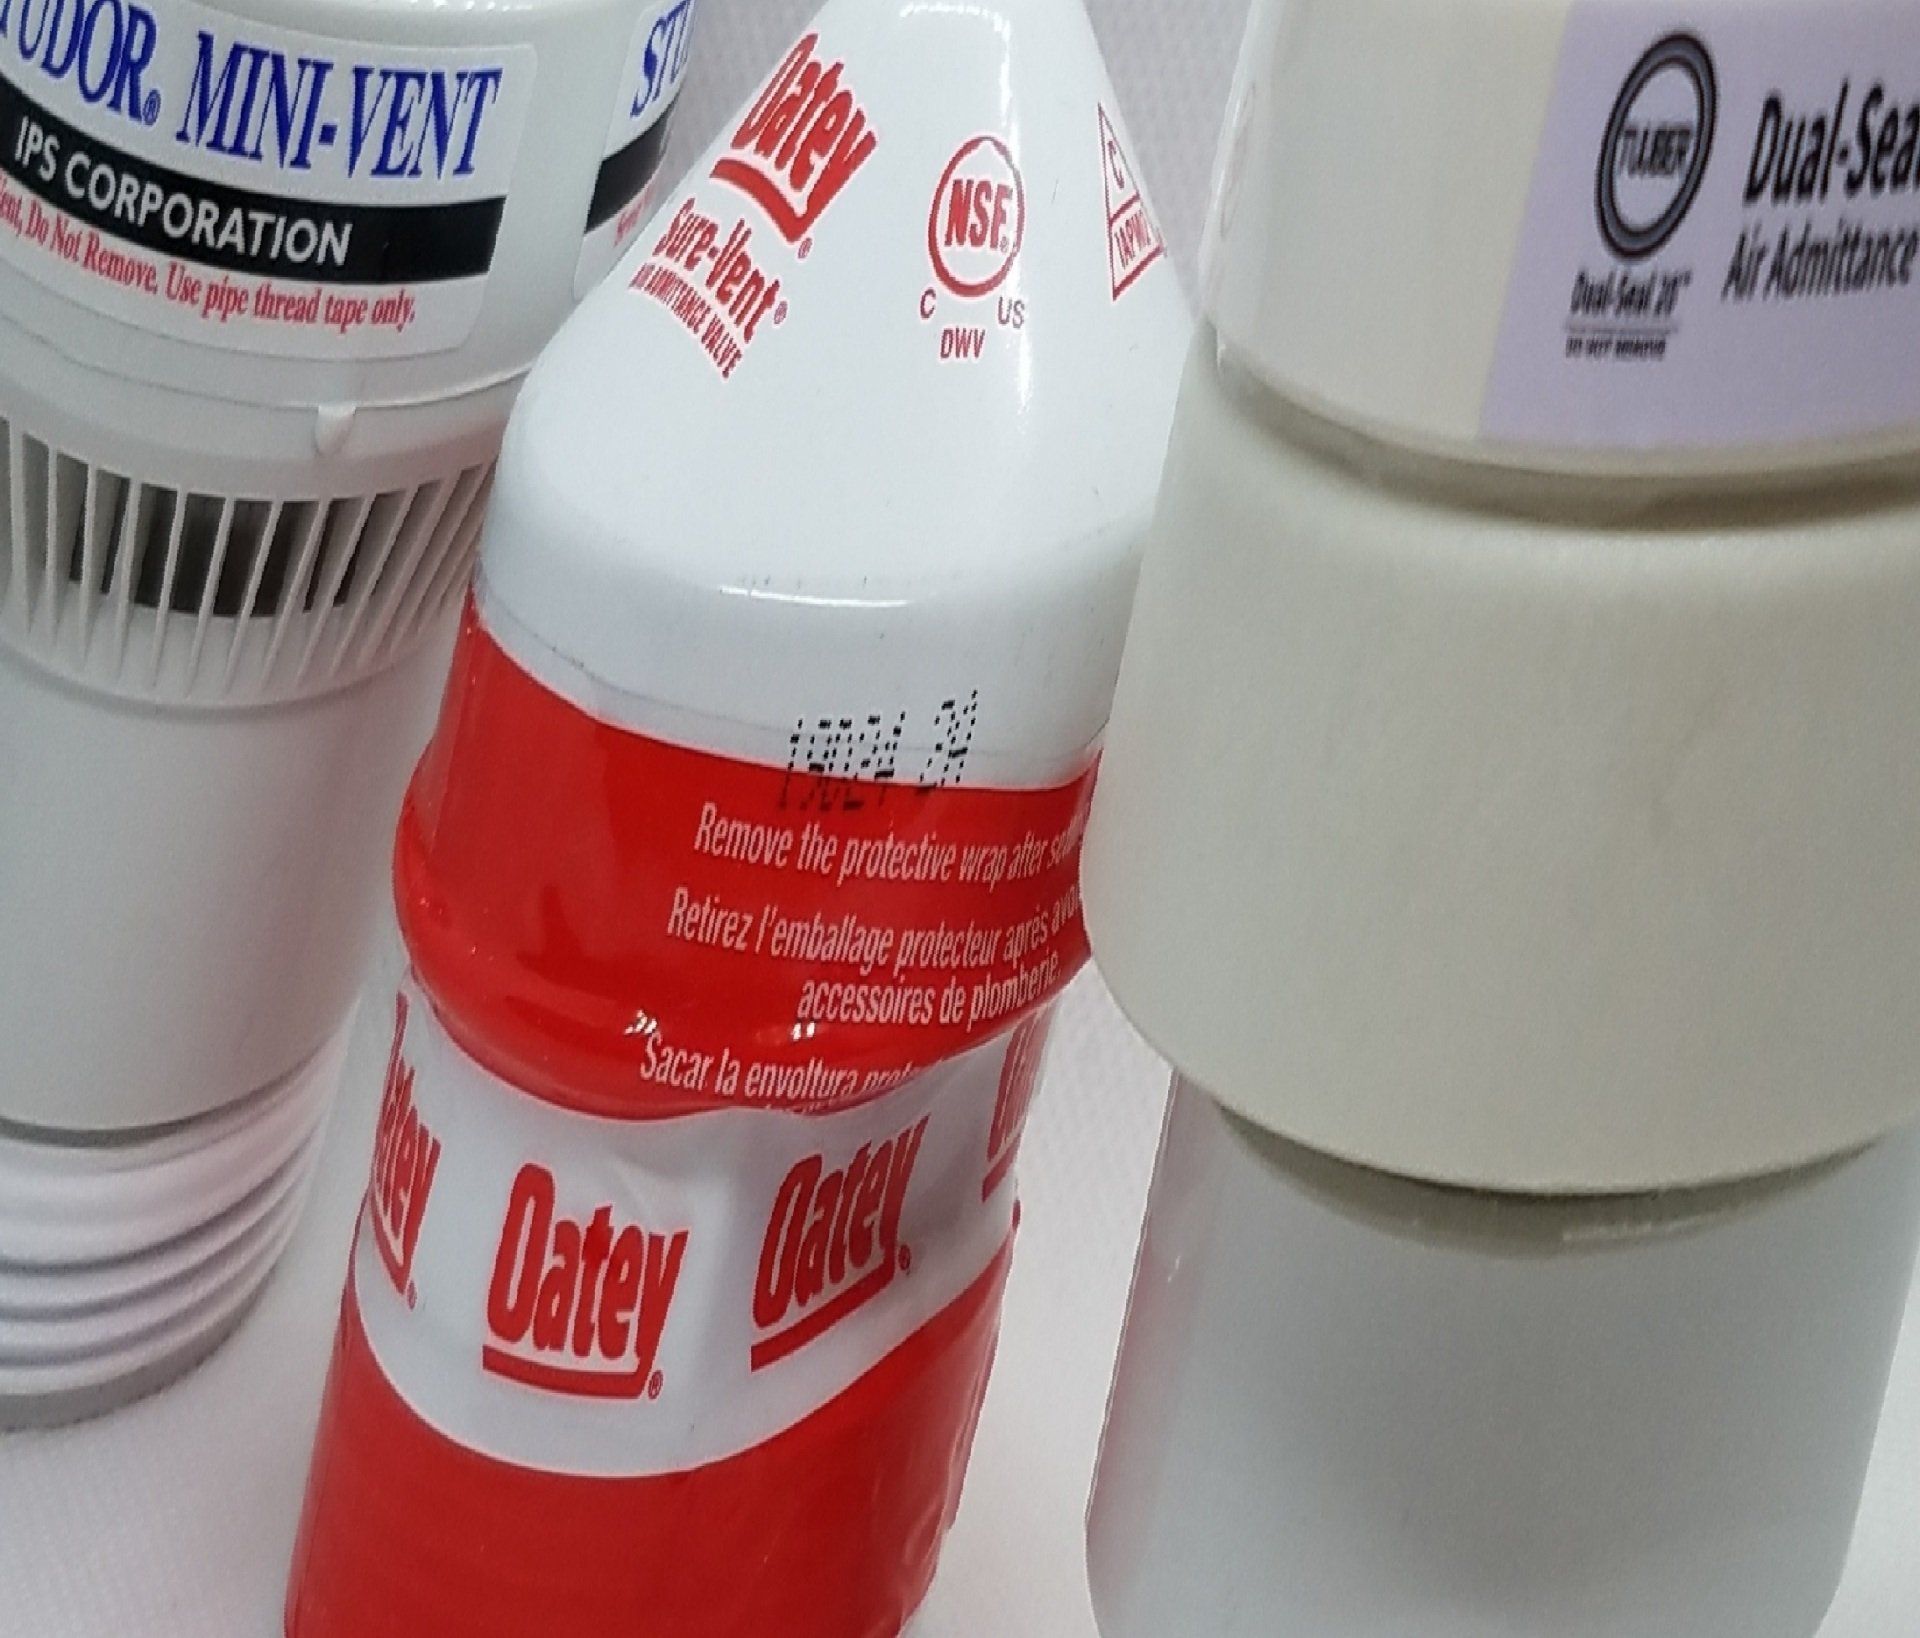
Basement plumbing projects often need reliable venting without the excavation, framing changes, or roof penetration required for a traditional vent pipe. A properly selected and installed air admittance valve can admit air when negative pressure develops. Helping a basement drain or laundry sink flow correctly while keeping sewer gases from escaping into the room.
For a basement air admittance valve installation, connect the valve to the properly configured drain branch, install it vertically above the fixture's flood level rim, and keep it accessible for inspection and maintenance. Always follow the valve manufacturer's instructions and confirm local plumbing requirements before beginning.
The right location and height matter as much as the valve itself, especially when a laundry sink shares a branch with a high-volume washer discharge. The following air admittance valve installation guides explain how to evaluate a basement setup before you cut pipe or close in the work.
Basement Air Admittance Valve Installation: Can You Use an Air Admittance Valve in a Basement?
Yes. A basement air admittance valve installation can be a practical solution when adding a laundry sink. Utility drain, or other fixture where connecting a traditional vent pipe to the roof would be difficult. Instead of routing new pipe through finished walls, ceilings, or the foundation, an AAV admits air into the drainage system when negative pressure develops. This helps the fixture drain while avoiding unnecessary disruption to the basement.
The valve also serves an important protective function. Drainage flow can create negative pressure that pulls water from a fixture's P-trap, a condition known as siphonage. Once the trap seal is lost, sewer gases can enter the room. An AAV provides a mechanical alternative to traditional vent piping for protecting the trap from siphonage and back pressure, as described in federal plumbing requirements.
Why basement retrofits are a strong AAV application
Basement remodeling often involves fixtures that were not part of the original drainage plan. A laundry sink beside a washer, a utility sink in a workshop, or a new floor-level drain may need effective venting without a major reconstruction project. In these situations, an AAV can simplify the process of adding a fixture to an existing drainage system and provide fast. Efficient venting when a roof connection is impractical.
That convenience can reduce both labor and project cost. A conventional vent may require opening finished surfaces, drilling through framing, extending pipe upward, and excavating or modifying areas to reach an acceptable route. An AAV can avoid costly excavation for a new basement vent pipe and reduce the amount of material and labor required. The exact savings depend on the layout and local requirements, but the installation approach is often much less invasive.
What makes Tuuber's design different
Tuuber's dual-seal design adds another layer of protection to the valve assembly. Its patented Dual Seal, Triple Flow Passage technology is designed to support reliable airflow while helping contain sewer gases when the plumbing system is not under negative pressure. Install the valve indoors, vertically, and where it remains accessible for inspection and maintenance. Always follow the manufacturer's instructions and confirm local code requirements before beginning work.
For placement and application guidance, see Air Admittance Valve Installation: How-To Guides for Every Application.
Code Requirements for AAVs Below Grade and in Basement Drains
Basement plumbing does not create a blanket exception to venting rules. An air admittance valve must be selected and installed as part of a compliant drainage design, with the exact requirements confirmed for the jurisdiction and fixture group.
Vent only fixtures on the same floor level
Individual and branch-type AAVs are intended to vent fixtures on the same floor level that connect to a horizontal branch drain. In practical terms. A valve serving a basement laundry sink or utility drain should not be used to vent fixtures on another floor or to replace a required vent stack. This same-floor limitation is stated in plumbing requirements published by the Indiana Legislative Services Agency: review the applicable AAV provisions before finalizing the layout.
Use the correct height and keep the valve accessible
For a basement air admittance valve installation, location matters as much as connection. The valve must remain accessible for inspection and maintenance, so avoid burying it behind permanent drywall or placing it where a technician cannot remove or examine it. The same requirements also specify that the valve be located at least 6 inches above the flood level rim of the highest fixture being vented. That measurement is taken from the fixture's flood level rim, not simply from the basement floor.
Installation guidance may also call for the valve to sit at least 4 inches above the horizontal branch drain and 6 inches above insulation. Follow the product instructions when they require a greater clearance. These details help preserve airflow and leave room for inspection in a finished wall, cabinet, or utility area.
Confirm ASSE compliance and local amendments
ASSE 1050 and ASSE 1051 define performance requirements for air admittance valves. Tuuber's valves comply with the applicable ASSE 1050/1051 requirements, including its Dual Seal designs. Use the standard that matches the valve type and application, and retain the product documentation for the project record. The governing code can also vary by state, municipality, or adopted code edition. Local jurisdictions may add amendments or impose conditions beyond the baseline language. So verify the installation with the local plumbing authority when the project has unusual drainage, multiple fixtures, or a finished basement. Compliance is a site-specific decision, not a substitute for reviewing the current local code.
How to Plan AAV Placement for a Laundry Sink or Utility Drain
Good planning prevents a basement drain retrofit from becoming a slow-draining or difficult-to-service installation. Before cutting pipe, confirm the fixture layout, local plumbing requirements, and the manufacturer's instructions. A useful starting point is Tuuber's Air Admittance Valve Installation: How-To Guides for Every Application, followed by the specifications for the Tuuber Dual-Seal 20 AAV.
Planning considerations by fixture typeFixtureMinimum pipe sizeTypical trap arm distanceValve height above rimAccessibilityLaundry sinkSize for the sink and washer discharge volume; confirm local codeFollow the local trap-arm limitAbove the flood level rimKeep exposed or behind a removable access panelUtility sinkMatch the fixture drain and required flow capacityFollow the local trap-arm limitAbove the flood level rimLeave room for inspection and replacementFloor drainVerify sizing and whether an AAV is permitted for the configurationConfirm with the applicable code officialUse the highest connected fixture rim when applicableDo not bury the valve behind permanent finishes
Set the valve location before assembling the branch
An AAV must remain vertical, within 15 degrees of vertical, so its internal mechanism can operate correctly. An incorrect angle can keep the valve from opening and contribute to slow drainage. The valve must also stay above the fixture's flood level rim, rather than sitting where a backed-up sink or drain could submerge it. Keep the location indoors, accessible, and protected from freezing conditions.
Account for discharge and trap-arm limits
A washing machine can send a larger, faster discharge into a laundry sink than ordinary handwashing. Size the drain branch to accommodate that volume, and verify that the trap, slope, and trap-arm length comply with the plumbing code adopted in your area. AAV rules can vary by jurisdiction, so do not treat a generic diagram as permission to skip a local review.
Gather the right tools
For a typical PVC adjustment, have a measuring tape, hacksaw, PVC primer and cement, Teflon tape where threaded connections require it, and an adjustable wrench. Measure twice before cutting, dry-fit the layout, and preserve access to the valve. The finished arrangement should allow inspection without dismantling the sink or removing permanent wall material.
Step-by-Step Basement AAV Installation with a P-Trap
An air admittance valve is a one-way valve. It opens when negative pressure develops in the drain system. Allowing air to enter and protect the trap seal, then closes to block sewer gases from entering the room. This design can reduce the amount of vent piping needed and may avoid running a vent pipe through the roof or building wall. Follow the product instructions and local requirements for your specific basement drain.
- Confirm local code compliance. Before cutting pipe, verify that an AAV is permitted for the fixture and location. Confirm the required valve height, access for inspection, trap arm limits, and any local amendments. Manufacturer instructions and local plumbing code control the final installation.
- Install the P-trap and trap arm. Assemble the P-trap below the basement sink or fixture, then connect the trap arm to the horizontal branch drain with the required slope. Keep the trap arm within the distance allowed by local code so the fixture is properly vented.
- Install a sanitary tee. Place a sanitary tee in the drain line above the trap arm. The branch of the tee provides the connection point for the AAV. Keep the valve accessible rather than sealing it behind a finished wall or other permanent obstruction.
- Cut and dry-fit the vertical pipe. Measure the vertical riser from the tee and cut it so the AAV connection will sit approximately 4 to 6 inches above the horizontal branch drain. Unless the manufacturer or local code requires a different height. Dry-fit the pipe and fittings first. Check that the completed riser leaves the valve within 15 degrees of vertical.
- Apply PVC primer and cement. Once the fit and orientation are correct, mark the socket depths, disassemble the joints, and apply compatible PVC primer and cement according to their instructions. Reassemble each joint fully and hold it briefly while the cement sets.
- Thread or glue the AAV adapter. Attach the manufacturer-approved adapter to the top of the riser. Use the specified threaded or solvent-weld connection method. Do not substitute an adapter that is not compatible with the valve or pipe material.
- Hand-tighten the AAV. Thread the AAV onto the adapter by hand and position it upright. Keep the valve within 15 degrees of vertical. Do not use excessive force or tools on the valve body, because overtightening can damage the connection and improper orientation can prevent the valve from opening correctly.
- Check every connection. Confirm that the P-trap, trap arm, sanitary tee, riser, adapter, and AAV are secure and accessible. Then run water through the fixture and inspect all joints for leaks. A water test after installation is essential for confirming that the drainage assembly is operating properly and that the joints are tight. Oatey's published AAV guide follows a similar sequence of code review, height measurement, pipe cutting, and adapter connection: Oatey AAV installation guide.
Testing and Troubleshooting a Basement AAV Installation
After the pipework is complete, test the fixture before closing the wall or covering the access point. Open the fixture at full volume and watch how quickly it drains. The flow should remain steady without pooling or backing up. As the valve admits air, you may hear a slight click or brief hiss. That sound is generally normal. Then inspect every solvent-welded, threaded, or compression joint for moisture. A water test is a basic but essential final check that the joints are secure and the drainage system performs as intended. Tuuber's installation guidance recommends testing after installation.
What slow drainage can indicate
Slow drainage is one of the clearest signs that something needs attention. First, confirm that the AAV is installed vertically. An incorrectly oriented valve may not open when negative pressure develops, restricting airflow and slowing the fixture's drainage. A blockage in the valve or nearby branch can create a similar symptom. Check the accessible valve and drainage path for obstruction, but do not force a component that could damage the seal. If the drain remains slow after the valve's position and connections are checked, investigate the trap arm, branch piping, and any downstream restriction.
Investigating sewer odors
Sewer odors around the fixture can point to valve failure or incorrect installation. Inspect the valve for damage, confirm that it is seated and connected as the manufacturer specifies, and look for leaks or an installation location exposed to flooding. An AAV must remain accessible and above the fixture's flood level so it can be inspected and maintained. Do not ignore recurring odor. It indicates that the valve may not be closing properly or that another part of the drainage system needs correction.
Maintenance and replacement
Include the AAV in regular basement plumbing inspections. Look for physical damage, blockage, moisture, and changes in drainage or odor before a small issue becomes disruptive. Protect the valve from freezing temperatures because extreme cold can affect its internal components and performance. If the valve eventually fails, replacement is relatively straightforward when the installation includes an accessible junction. Shut down use of the fixture, remove the old valve, inspect the connection, and install the approved replacement according to its instructions. A properly installed Tuuber dual-seal AAV, kept accessible and protected from freezing, should provide years of reliable service.
Frequently Asked Questions
Where should an air admittance valve be placed in a basement?
Place the valve on the fixture's drainage branch, upright, indoors, and where it remains accessible for inspection or replacement. Keep it above the fixture flood level rim and follow the manufacturer's placement instructions. Local plumbing rules may add requirements, so confirm the layout before closing a wall. Applicable plumbing regulations require accessibility and limit an individual or branch valve to fixtures on the same floor level.
What is the minimum height for a basement AAV installation?
The exact height depends on the product and governing code. A common requirement is at least 6 inches above the flood level rim of the highest fixture being vented. Some standards also specify clearance above the horizontal drain or insulation. Measure from the correct reference point, then verify the manufacturer's instructions and local code before installation. See the cited plumbing regulation.
Can an air admittance valve vent a basement bathroom?
It may be suitable for an individual fixture or branch where local code permits it. But it is not a universal replacement for a vent stack or stack vent. The bathroom group, drain arrangement, trap arms, valve location, and same-floor limits all matter. Have the proposed configuration checked against the applicable code, especially when adding a toilet, shower, or multiple fixtures.
How do I know if a basement AAV needs attention?
Slow drainage or sewer odors can indicate that the valve, drain, or surrounding connections need inspection. Confirm that the valve is still upright, accessible, and above the flood level rim. Check for leaks and run water through the fixture after installation or service. If the valve has failed, an accessible connection makes replacement much simpler.
A reliable, accessible valve can help bring your basement drain or laundry sink installation together with greater confidence. Explore Tuuber's complete line of Dual-Seal 20 AAVs to compare options for your application and next installation step. Get started with Tuuber Dual-Seal 20 AAVs.